How to Hit a Forehand in Tennis: Grip, Technique, & Drills
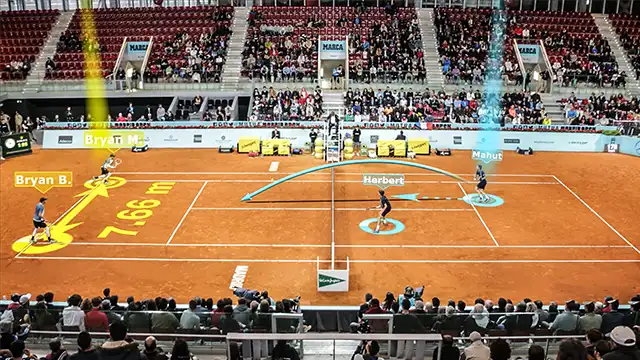
The forehand is one of the biggest weapons in the arsenal of most tennis players. Naturally, the forehand is used to attack, while the backhand is used to move the opponent, defend and build points.
With a solid forehand, you can effectively cover 75% of the court, which makes it an essential component of a solid groundstroke game and singles strategy.
Below, we’ll show you videos (including Federer’s forehand in slow motion), common mistakes, drills to improve, and more. You’ll learn to develop a powerful and consistent forehand.
- Forehand Fundamentals
- Federer Slow Motion Forehand Breakdown
- Common Mistakes to Avoid on Your Forehand
- Exercises and Drills to Improve Your Forehand
- The Forehand: Frame-by-Frame in 14 Steps
- The Key to Developing Your Forehand into a Weapon
FOREHAND FUNDAMENTALS
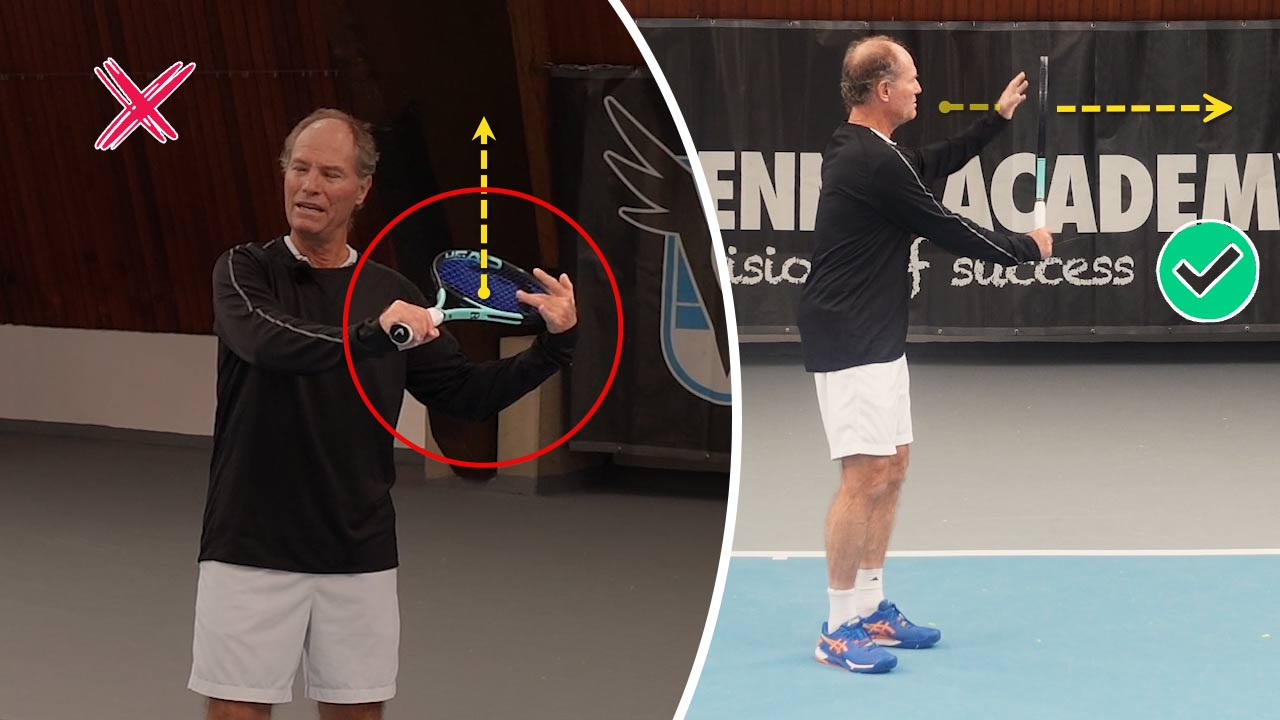
Before you start hitting a forehand like the pros, we need to make sure you have the fundamentals of the forehand groundstroke correct.
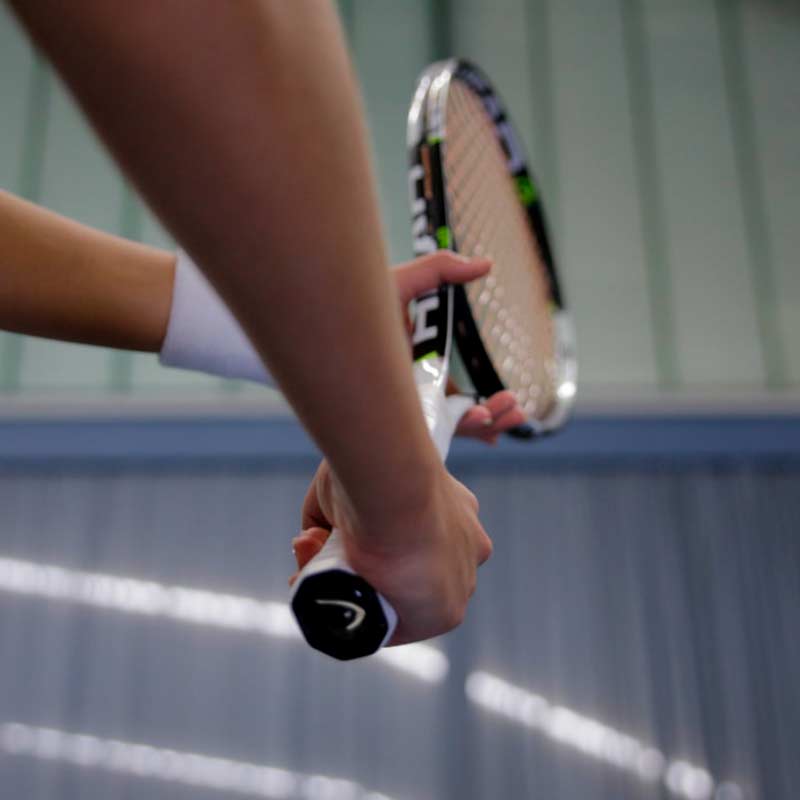
FIND THE RIGHT FOREHAND GRIP
Every effective forehand starts with the correct grip. You have a choice of three grips:
- The Eastern Forehand Grip
- The Semi-Western Grip
- The Western Grip
However, we highly recommend that you stick to the Eastern Grip and the Semi Western Grip. The Western grip requires a great deal of acceleration and only a few players can use it effectively.
EASTERN FOREHAND GRIP
SEMI WESTERN GRIP
This video on forehand grips will help you decide which is best for you.
THE CORRECT FOOTWORK & STANCE FOR A FOREHAND
When hitting a forehand you can choose to hit the ball with an open stance, with a closed stance or somewhere between both stances.
- Open stance forehand – With this stance, you have both feet and your hips open towards the net. It is great for hitting forehands when you are back at the baseline.
- Closed stance forehand – This stance is typically used when you approach the net. You’ll bring your left foot around towards the front of your body (for right-handed players). This closes your hips and torso.
Again, most players will have some variation of the two stances depending on the type of forehand they’re hitting. Just make sure you avoid stepping across your body since this will block your hips and hinder your swing. Also, if you’re too open, you won’t be able to get any power on your forehand.
The following video will help you understand the forehand stance better.
Once you understand how to hold the racquet and how to set up your body before the hit it is time to take a closer look at the swing.
THE BACKSWING
When taking the racquet back, the key concept to keep in mind is the “unit turn”. There are 3 things to keep in mind during the forehand backswing.
- Ideally, your backswing involves the rotation of the hips and trunk with very little movement of the arms. You take the racquet back with the body, not with the arm.
- You should also keep it simple, the less movement of the racquet the better.
- At the end of the backswing, your non-dominant arm should end across the body with your hand pointing to the side fence.
The following video will help you understand the “unit turn” on the forehand better.
THE RACQUET DROP & END OF BACKSWING
After the unit turn, the hitting arm will continue traveling back and down before starting the forward swing towards the ball. The idea is to swing up and forward in an incline.
In this phase it is very important that the racquet does not break the body’s plane, so keep your swing compact. In other words, if someone is looking at you from the other side of the net your arm and racquet should always remain on the right side of your body (for right-handed players).
FORWARD SWING AND CONTACT
The racquet will swing low to high towards the ball as the body rotates. A useful way to visualize the swing is by imagining a spring that you rotate and push down.
As you release it, the spring will uncoil and lift. That is exactly how your body works when hitting a forehand, coiling and lowering on the backswing and uncoiling as you push against the ground and turning your body around towards contact.
The contact point is always in front of the body while your body faces the net. At contact, your racquet face is basically parallel to the net.
THE FOREHAND FOLLOW THROUGH
After contact, your racquet head will remain stable and continue moving up and forwards as if pushing the ball. After a few inches, it will start to turn and move across the body as the body continues to rotate.
The racquet will finish on the other side of the body with the butt cap pointing forwards.
A good way to assure a proper follow-through is to think about catching the racquet with the non-dominant hand and making sure the hitting elbow finishes in front of the chin.
FEDERER SLOW MOTION FOREHAND BREAKDOWN
In the video below, you’ll get a clear breakdown of Roger Federer’s forehand in slow motion. He has one of the best forehands in the world, so it’s a great forehand to analyze.
COMMON MISTAKES TO AVOID ON YOUR FOREHAND
If you’re struggling with your forehand, you’re likely making one of these mistakes. Here’s how to fix them.
NOT ROTATING INTO THE FOREHAND
A very common mistake at the club level is swinging solely with the arm. The player gets sideways but never uncoils. Let’s take a look.
USING THE WRONG WRIST POSITION
In order to achieve maximum acceleration and control it is imperative to keep a loose grip and let the wrist work. The following video will help you understand the role of the wrist on the forehand.
CORRECT USE OF THE FOREARM
The wrist and the forearm are the last segments of the stroke and therefore play a determinant role in the proper execution of the forehand. Here is exactly what the forearm should do.
DO NOT FIGHT MOMENTUM
Another common mistake is trying to recover too early, shifting your weight in the wrong direction as you hit. Here is how to avoid it.
EXERCISES AND DRILLS TO IMPROVE YOUR FOREHAND
Here are a few drills to help you improve your forehand.
THE ROTATIONAL THROW EXERCISE
If you ever watch professional tennis, you might see players warming up in the locker room with this exercise before the match. It is a great way to get loose and make your body feel the rotation needed to hit a good forehand.
FOLLOWING THE COACH DRILL
This drill is a great way to work on forehands in different areas of the court. You will also have to work on your topspin forehand as you get closer to the net to make sure the ball dips back into the court.
THE INSIDE OUT/IN DRILL
In this forehand drill, the coach is feeding balls to the player who has to run around their backhand to hit a forehand.
The player will hit the forehands inside-out, to the crosscourt, unless the coach says “inside-in” before the shot. When the coach calls “inside-in” the player needs to redirect the forehand down the line.
THE FOREHAND: FRAME-BY-FRAME IN 14 STEPS
The slideshow below shows frame-by-frame shots of a proper forehand. There are 14 slides that you can view forward and backward.
ProTip: Take a video of yourself and freeze it at each stage to compare to our frames below.
THE KEY TO DEVELOP YOUR FOREHAND INTO A WEAPON
Just like any other shot in tennis, you need to practice the forehand consistently. What makes the forehand unique though, is that it is a more versatile shot than the backhand for most players. That’s why most tennis players develop it into their biggest weapon.
To turn your forehand into a weapon, get the fundamentals that you learned above down first. Then, you can start working on more advanced forehand tactics like topspin, slice, and power.
When you’re practicing your forehand, place targets on the court and push yourself during practice to continue hitting more difficult shots. This will develop your abilities with your forehand and turn into a bigger weapon during matches.